Hand-Dipped Beeswax Candles
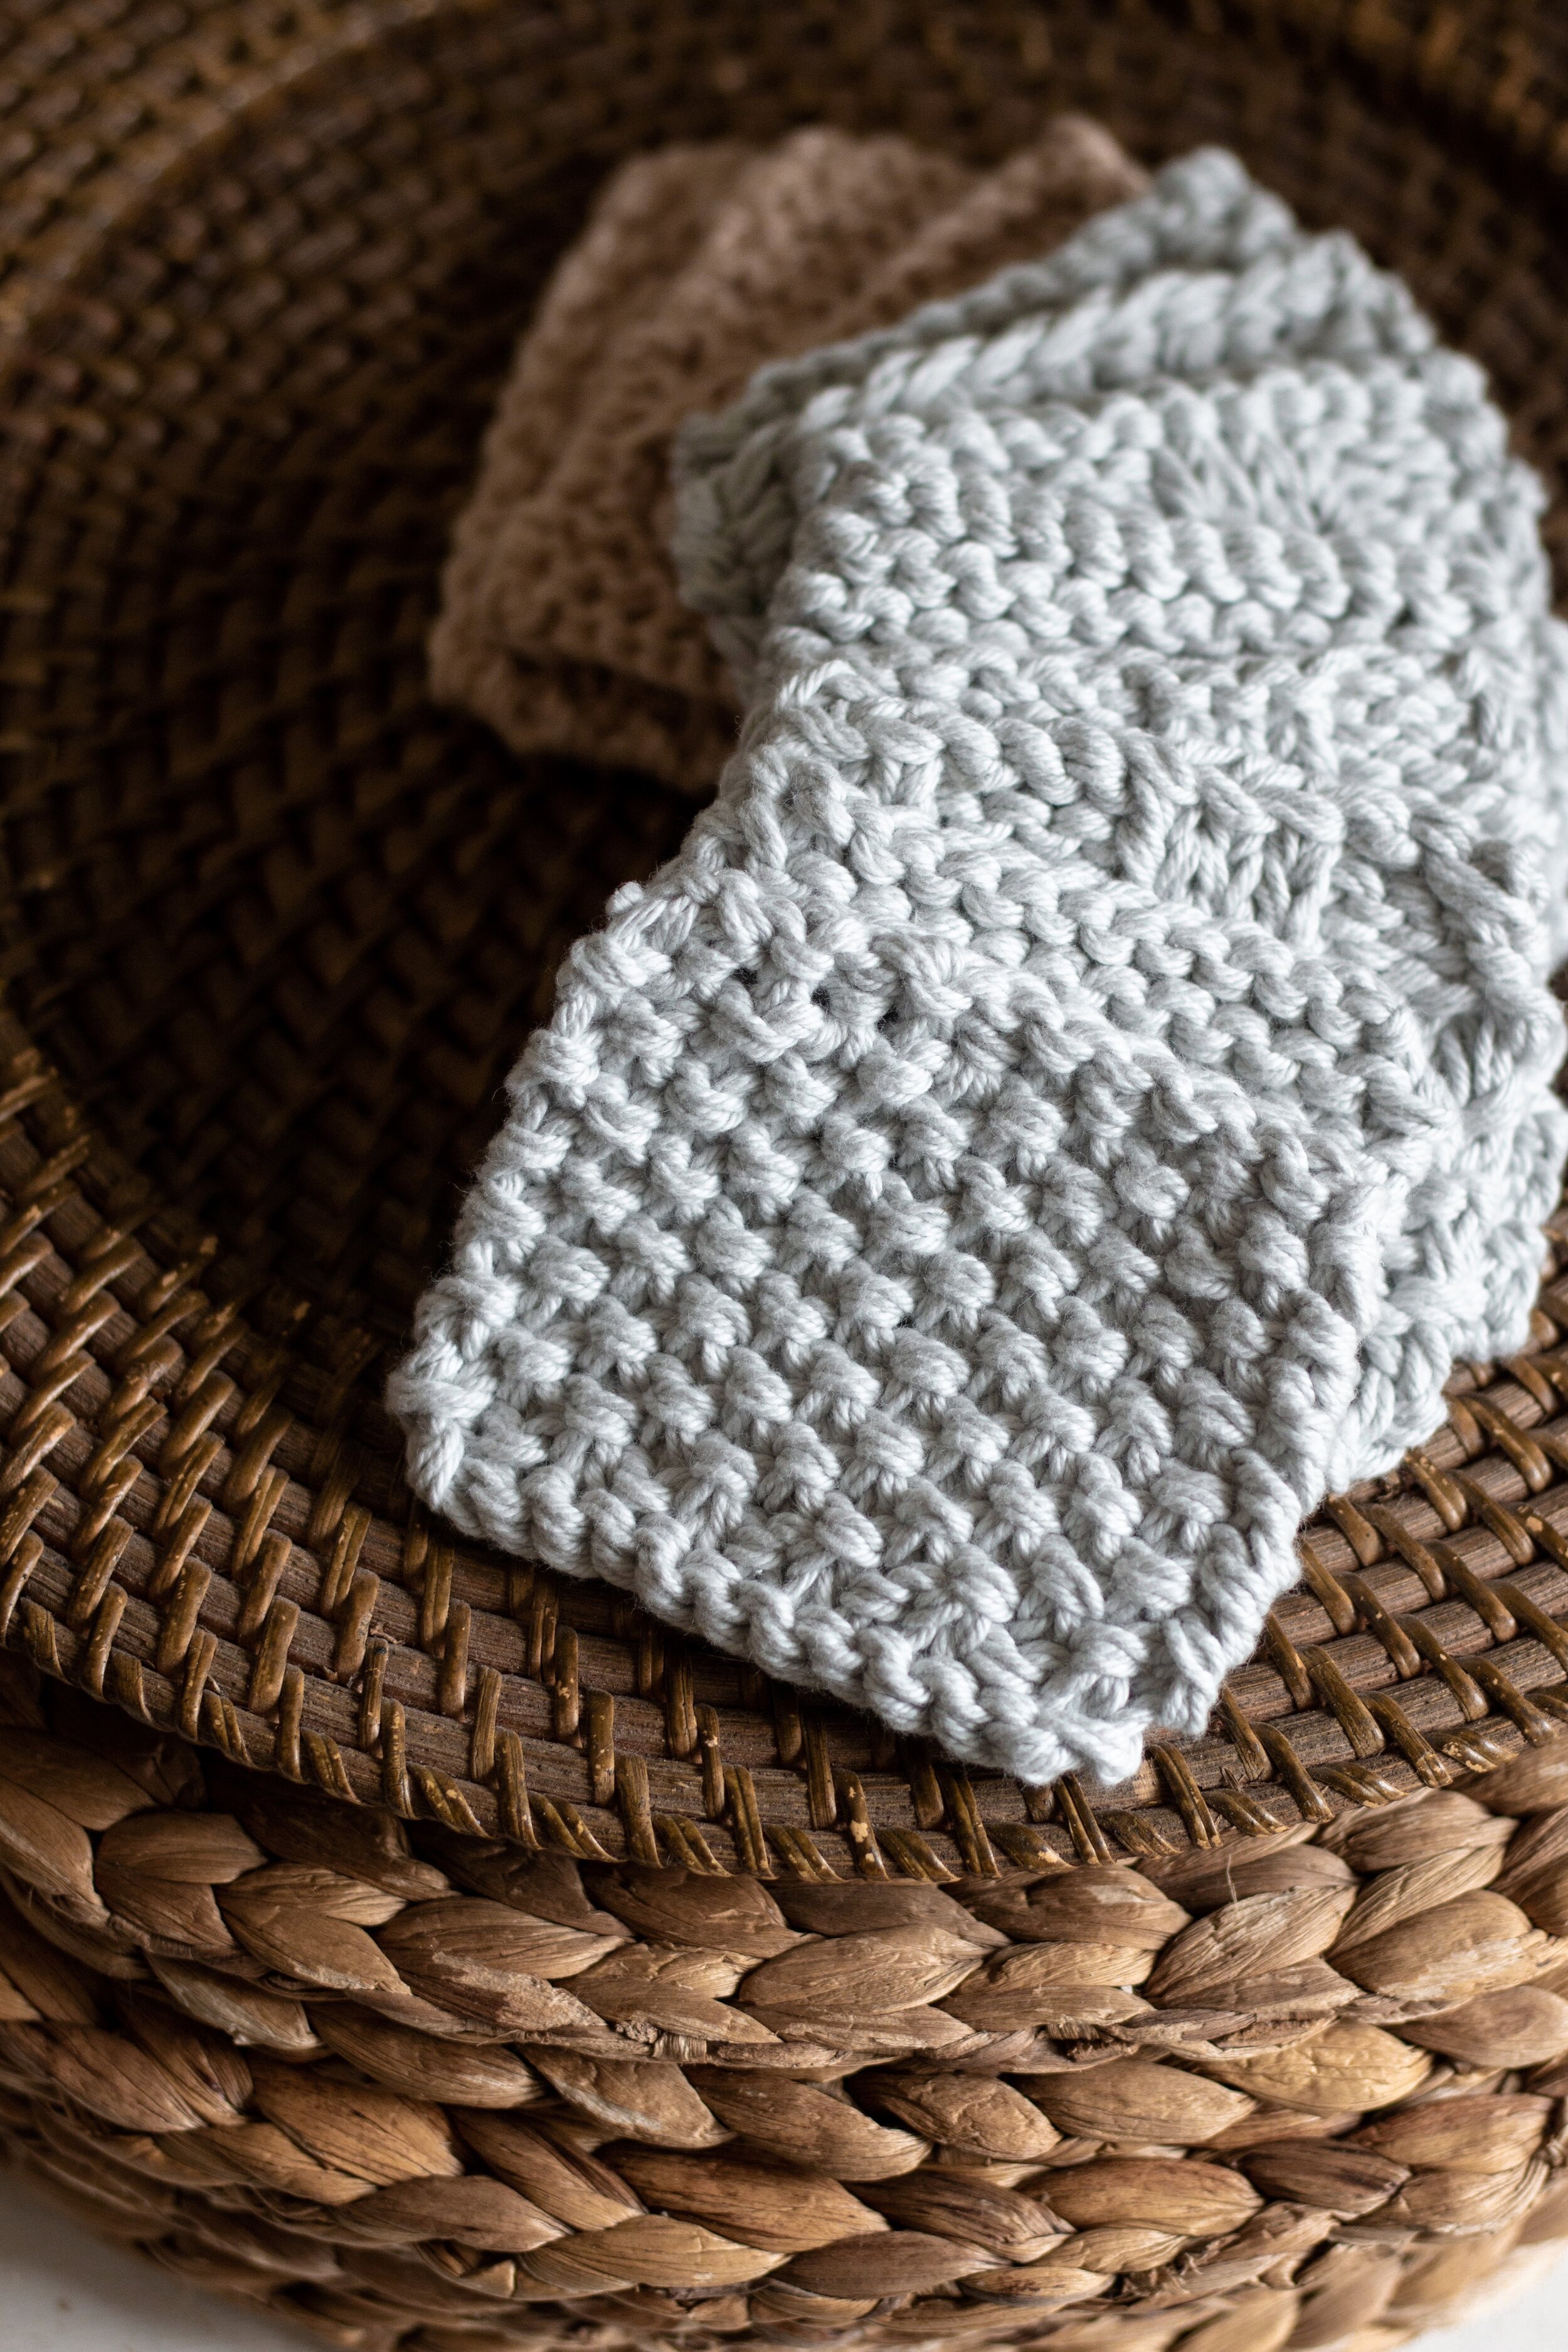
Mini Knit Dish Scrubbies

Simple Sport/DK Weight Socks
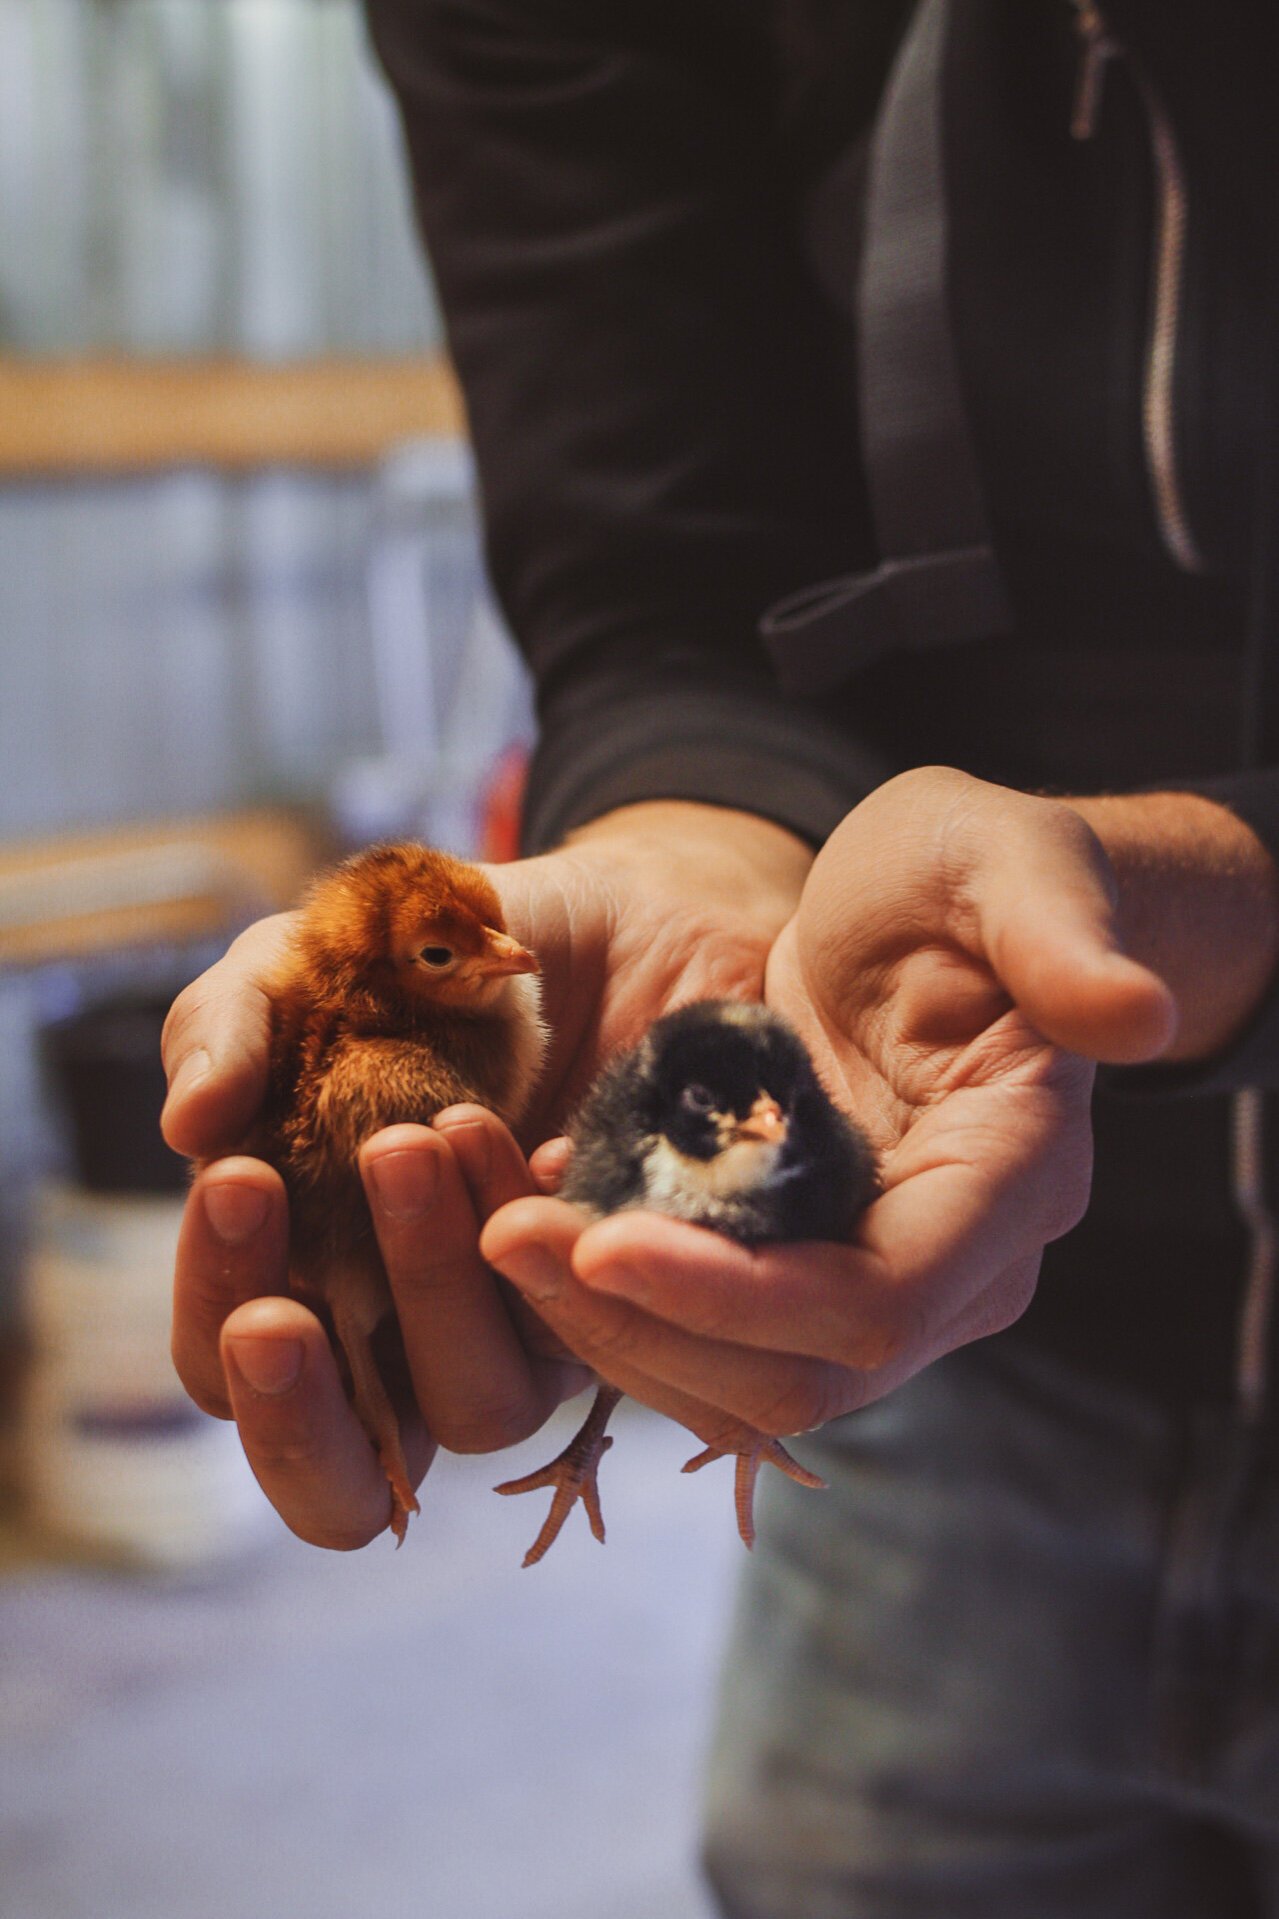
Easily Stored Away Chick Brooder Plans
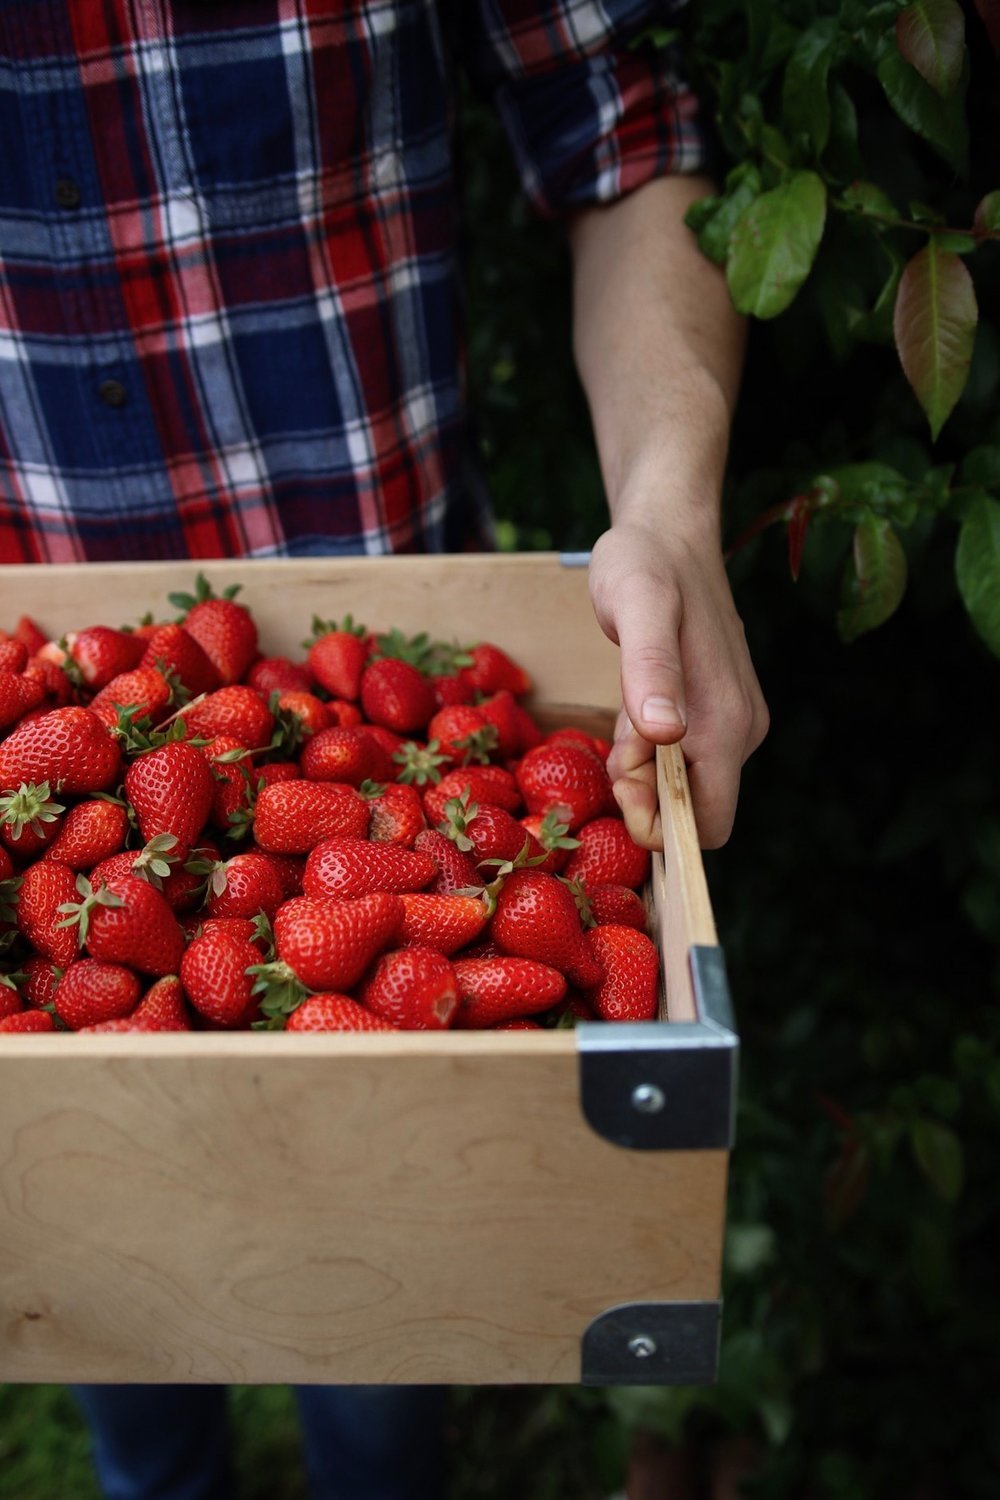
Strawberry-Rhubarb Kombucha
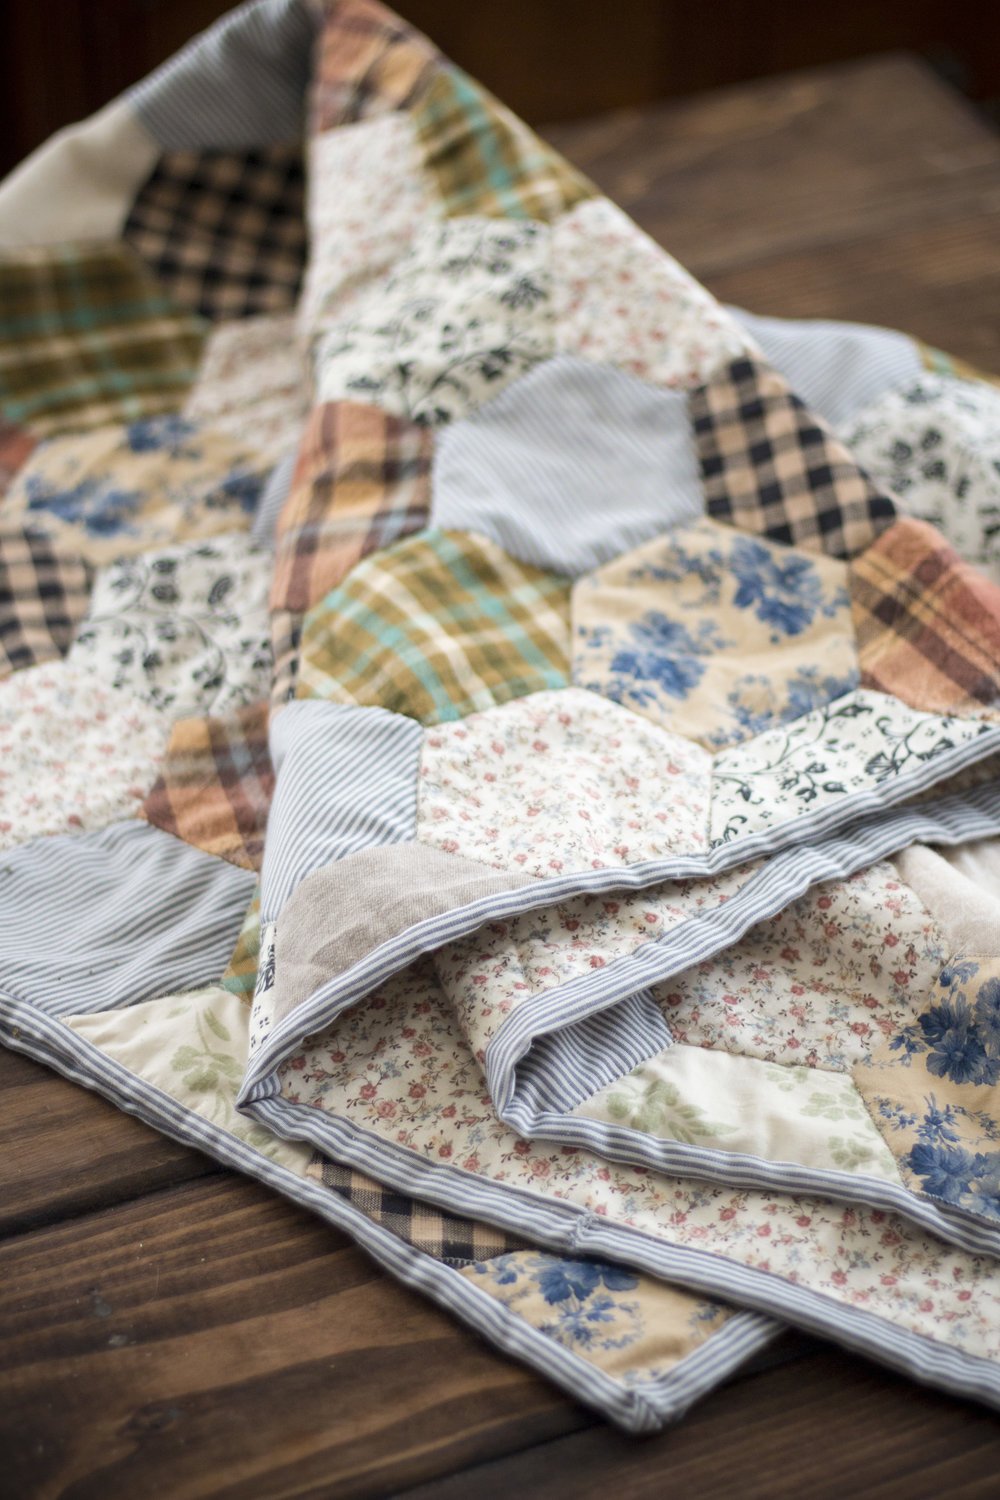
The Autumn Quilt
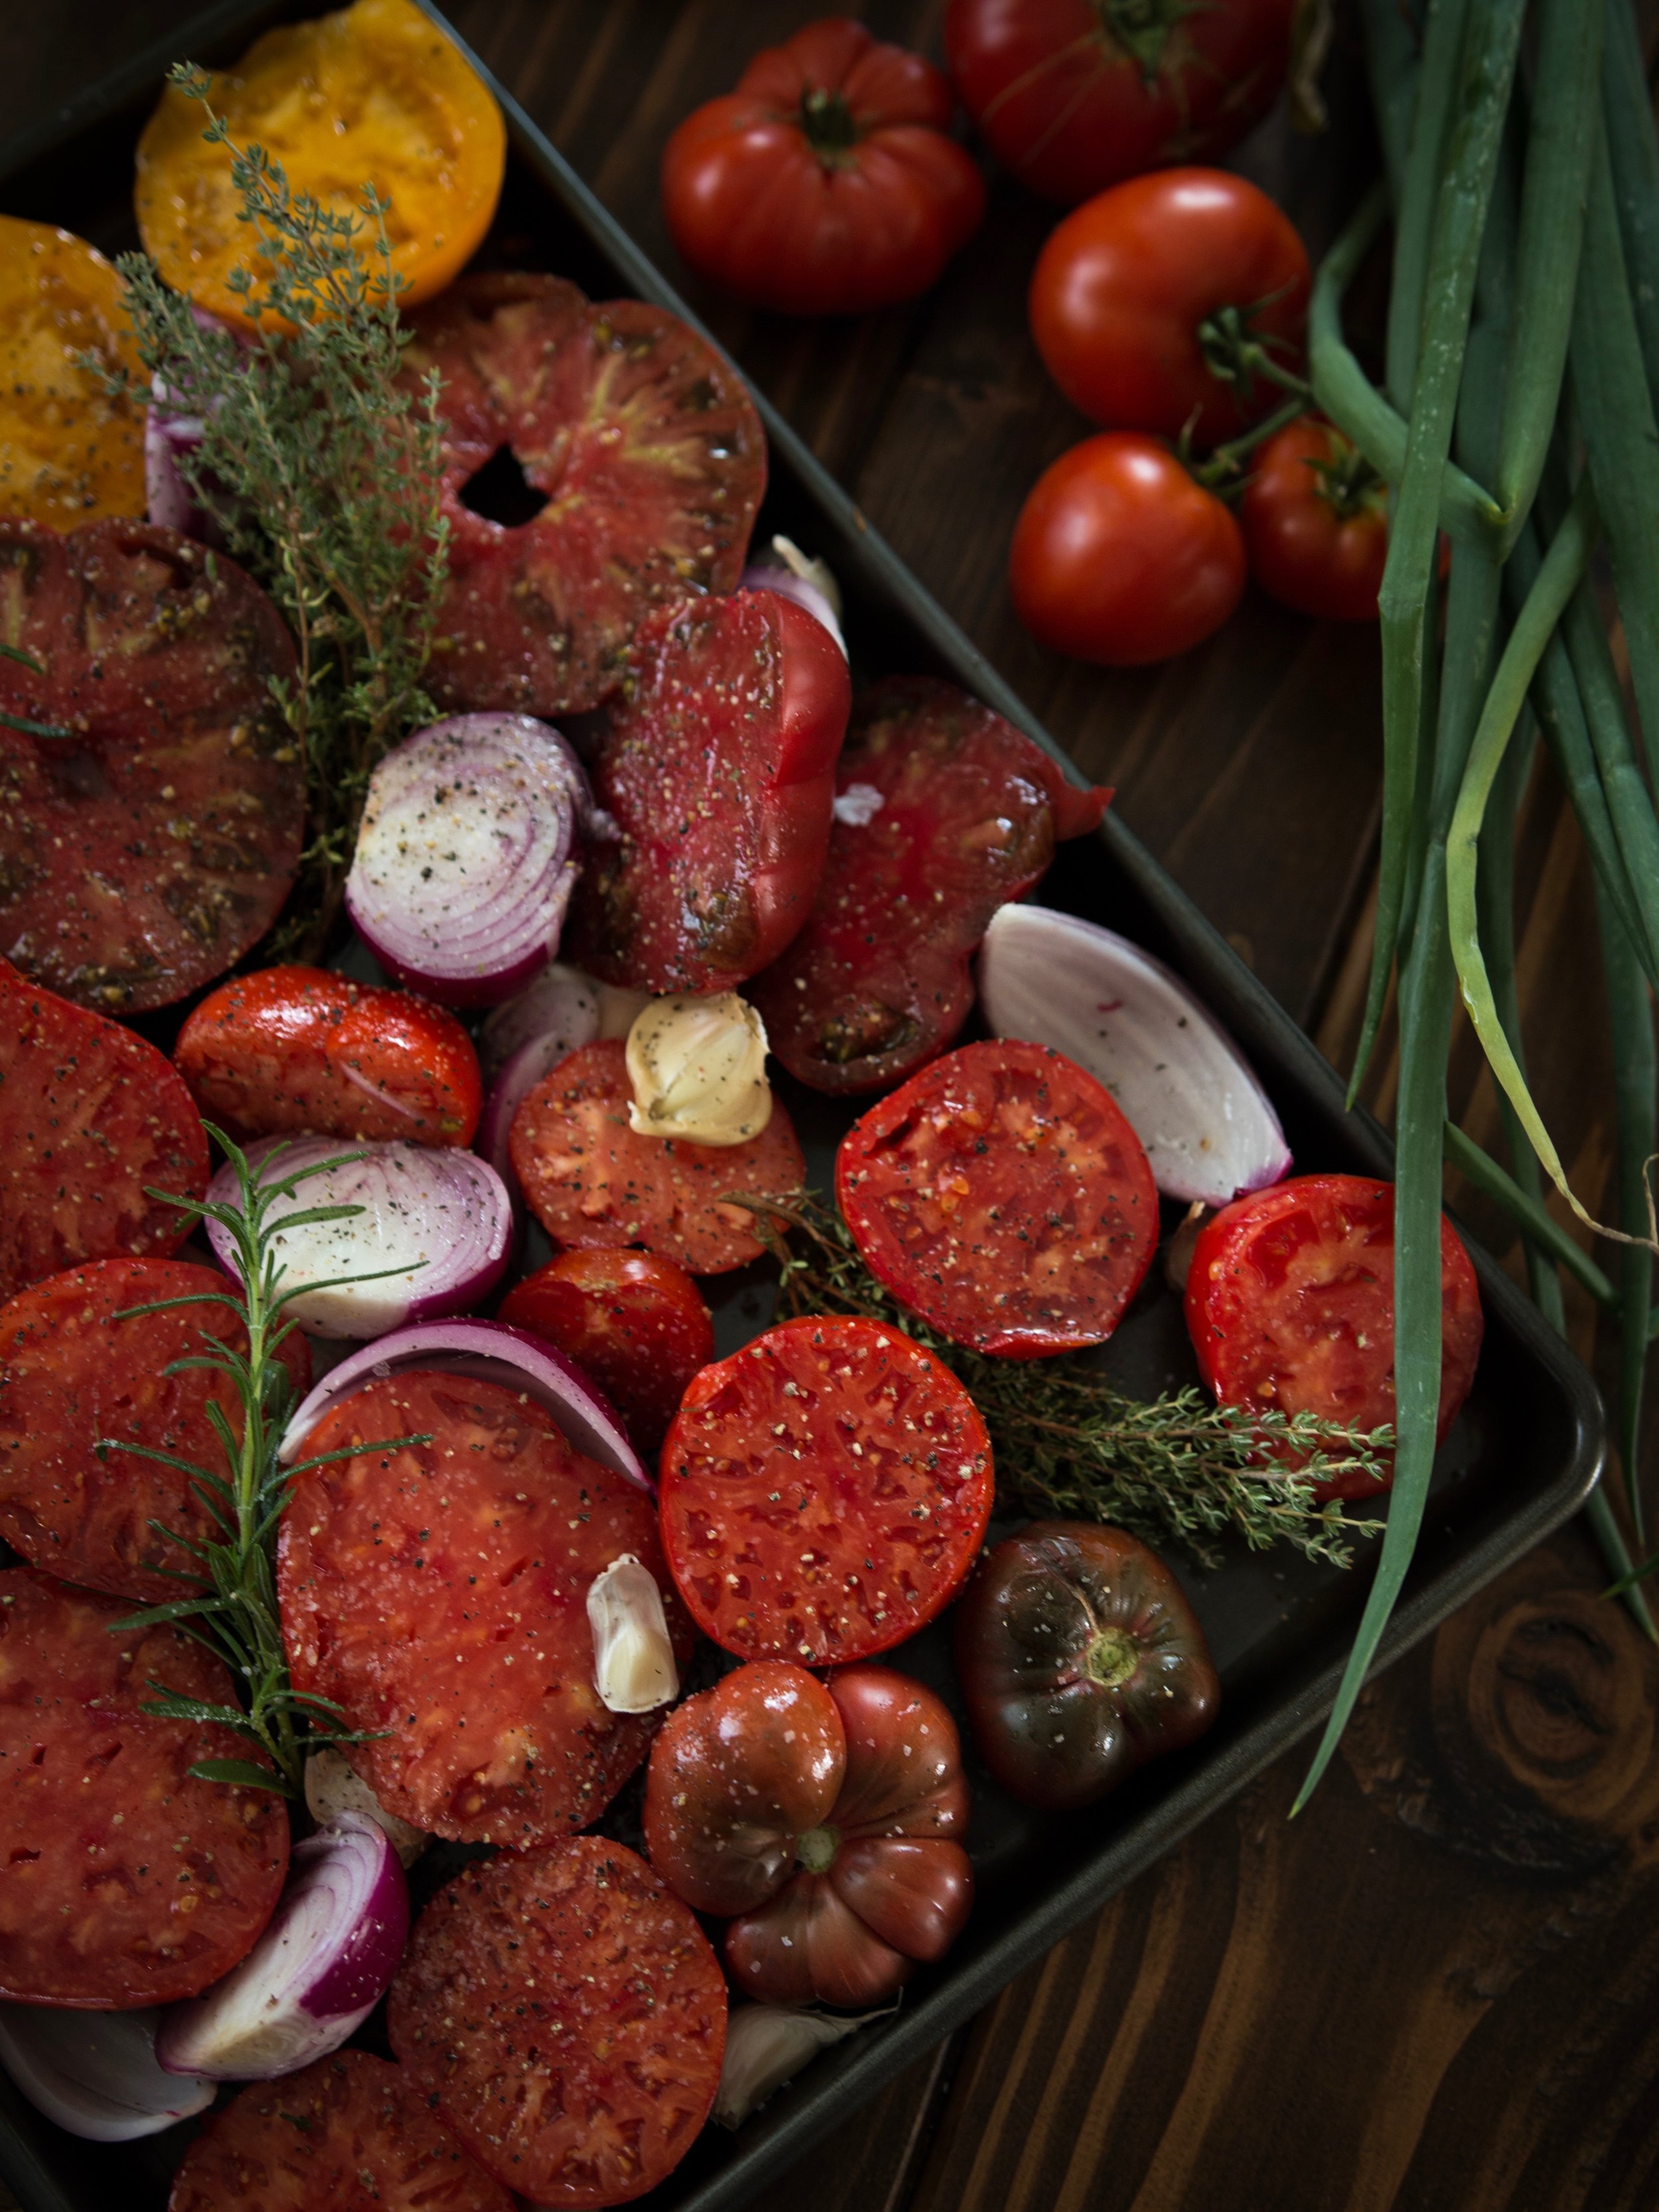
Roasted Tomato Soup
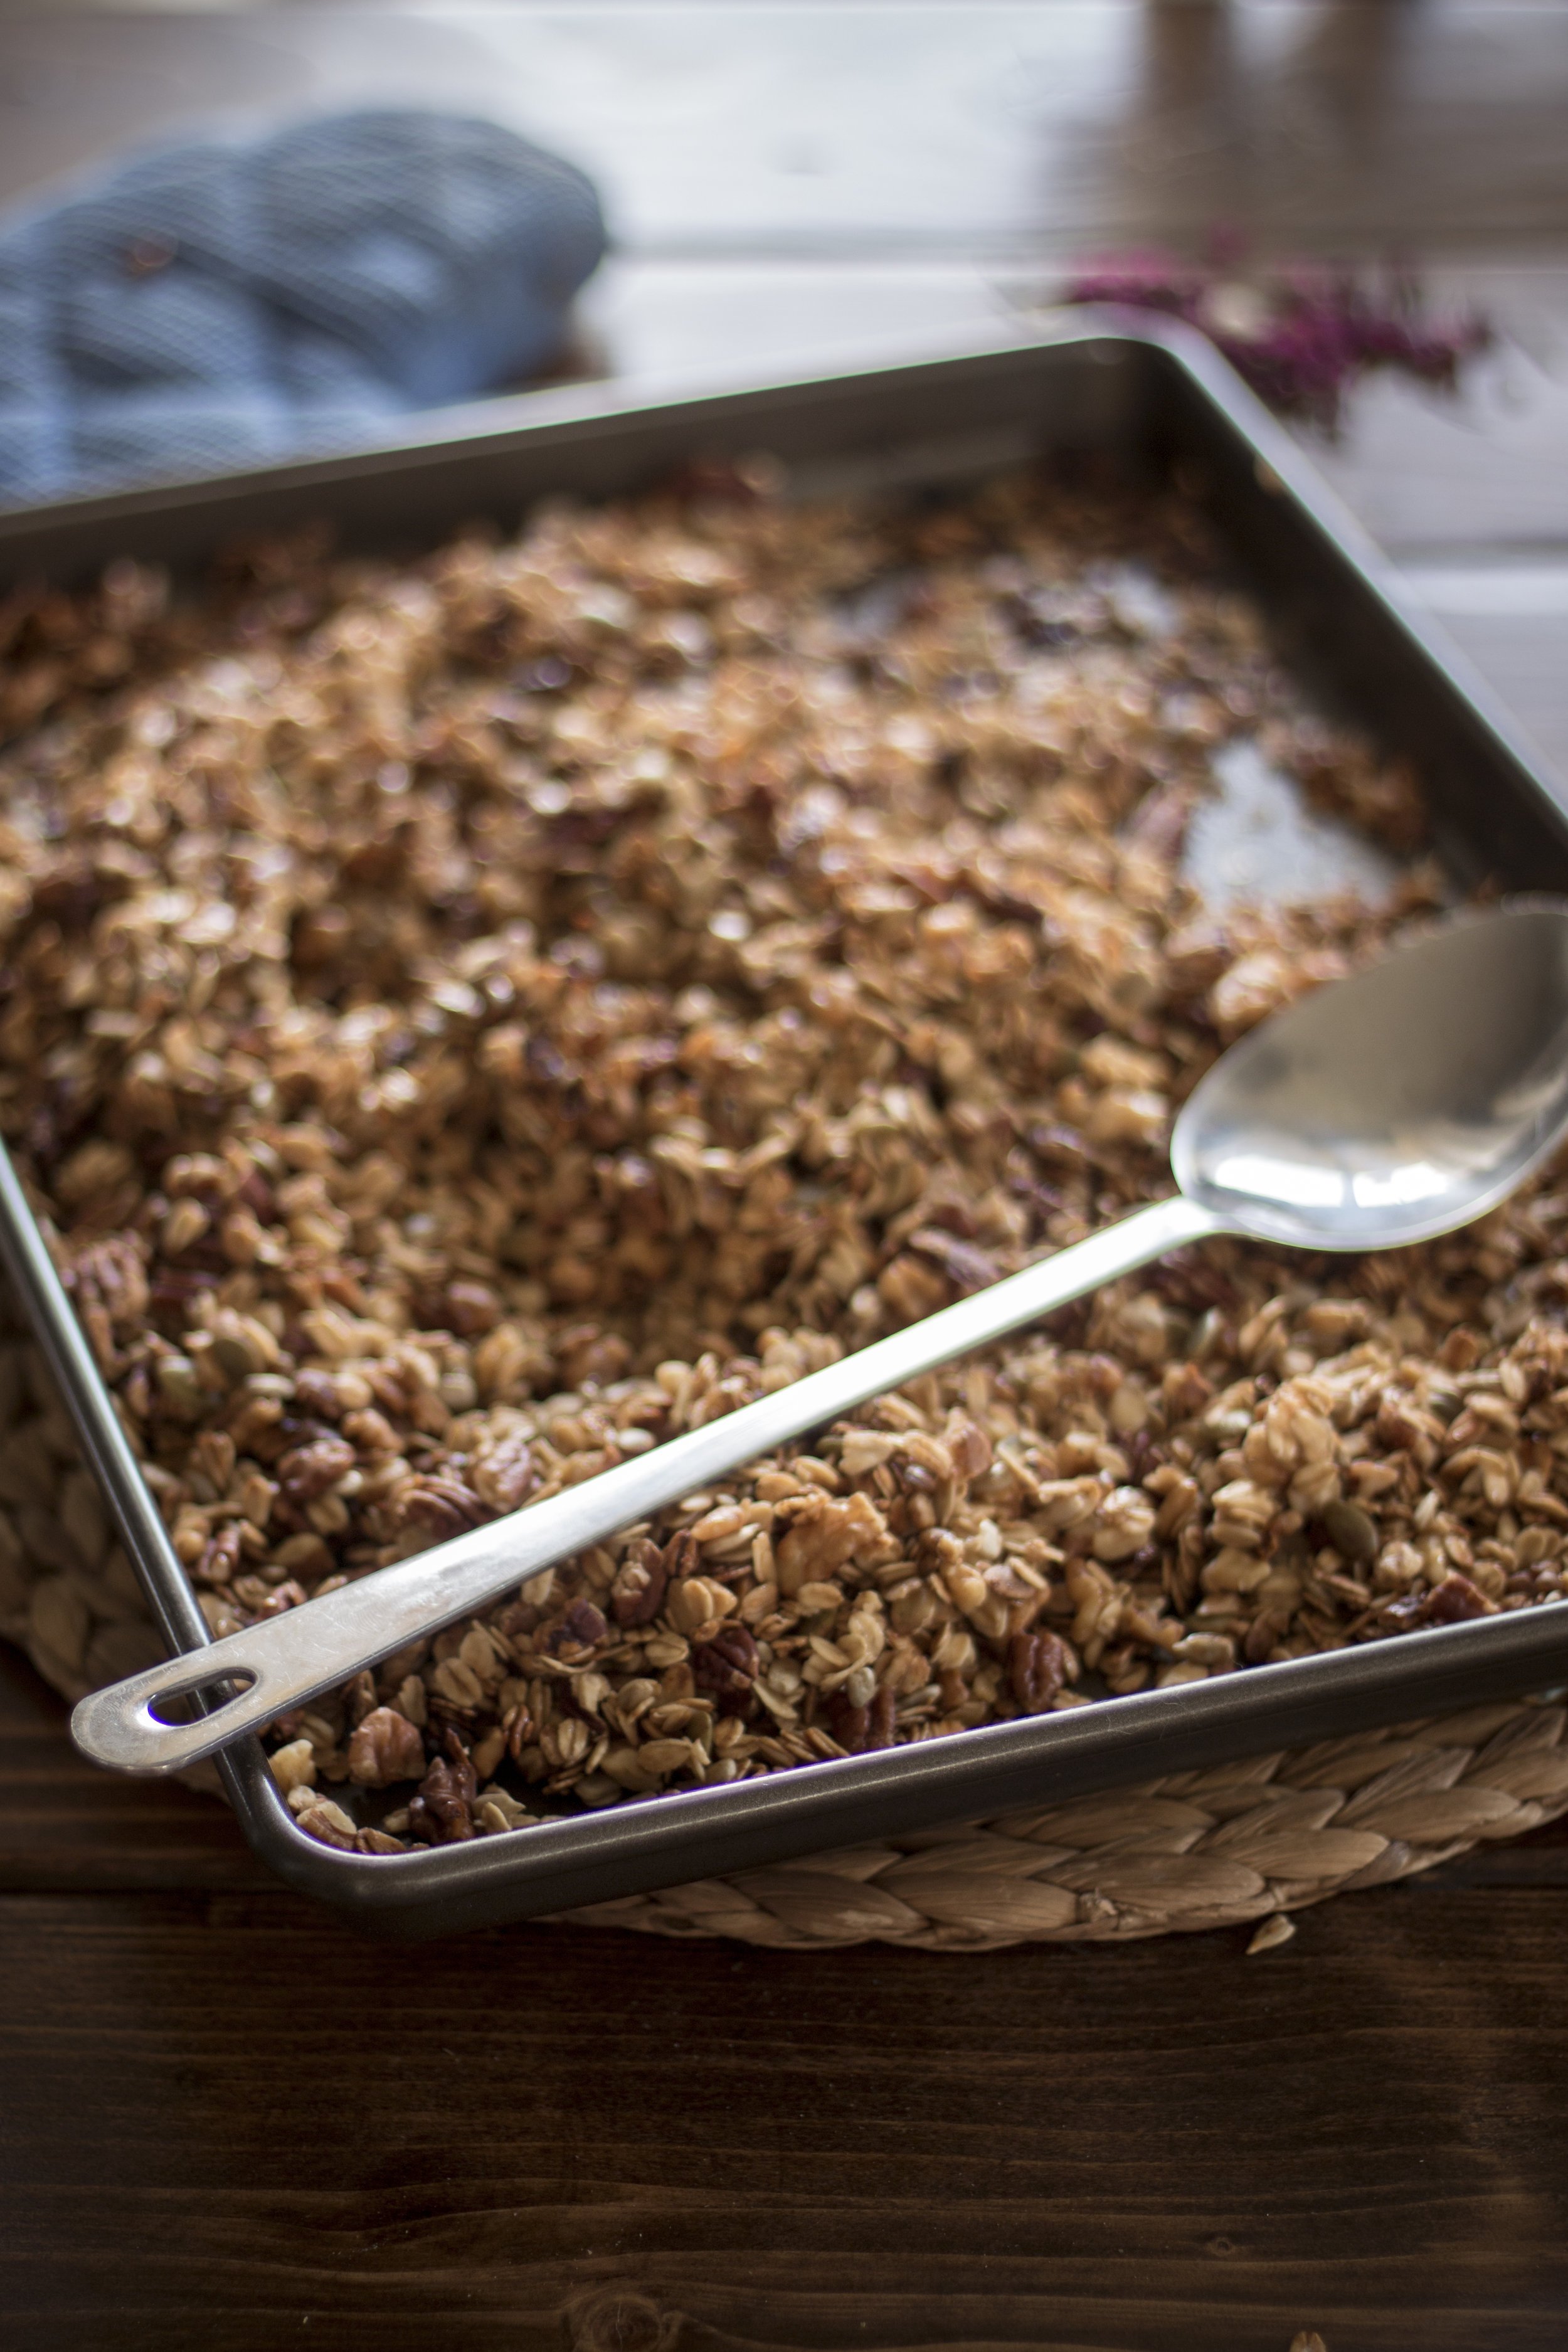
Naturally Sweetened Granola