Easily Stored Away Chick Brooder Plans
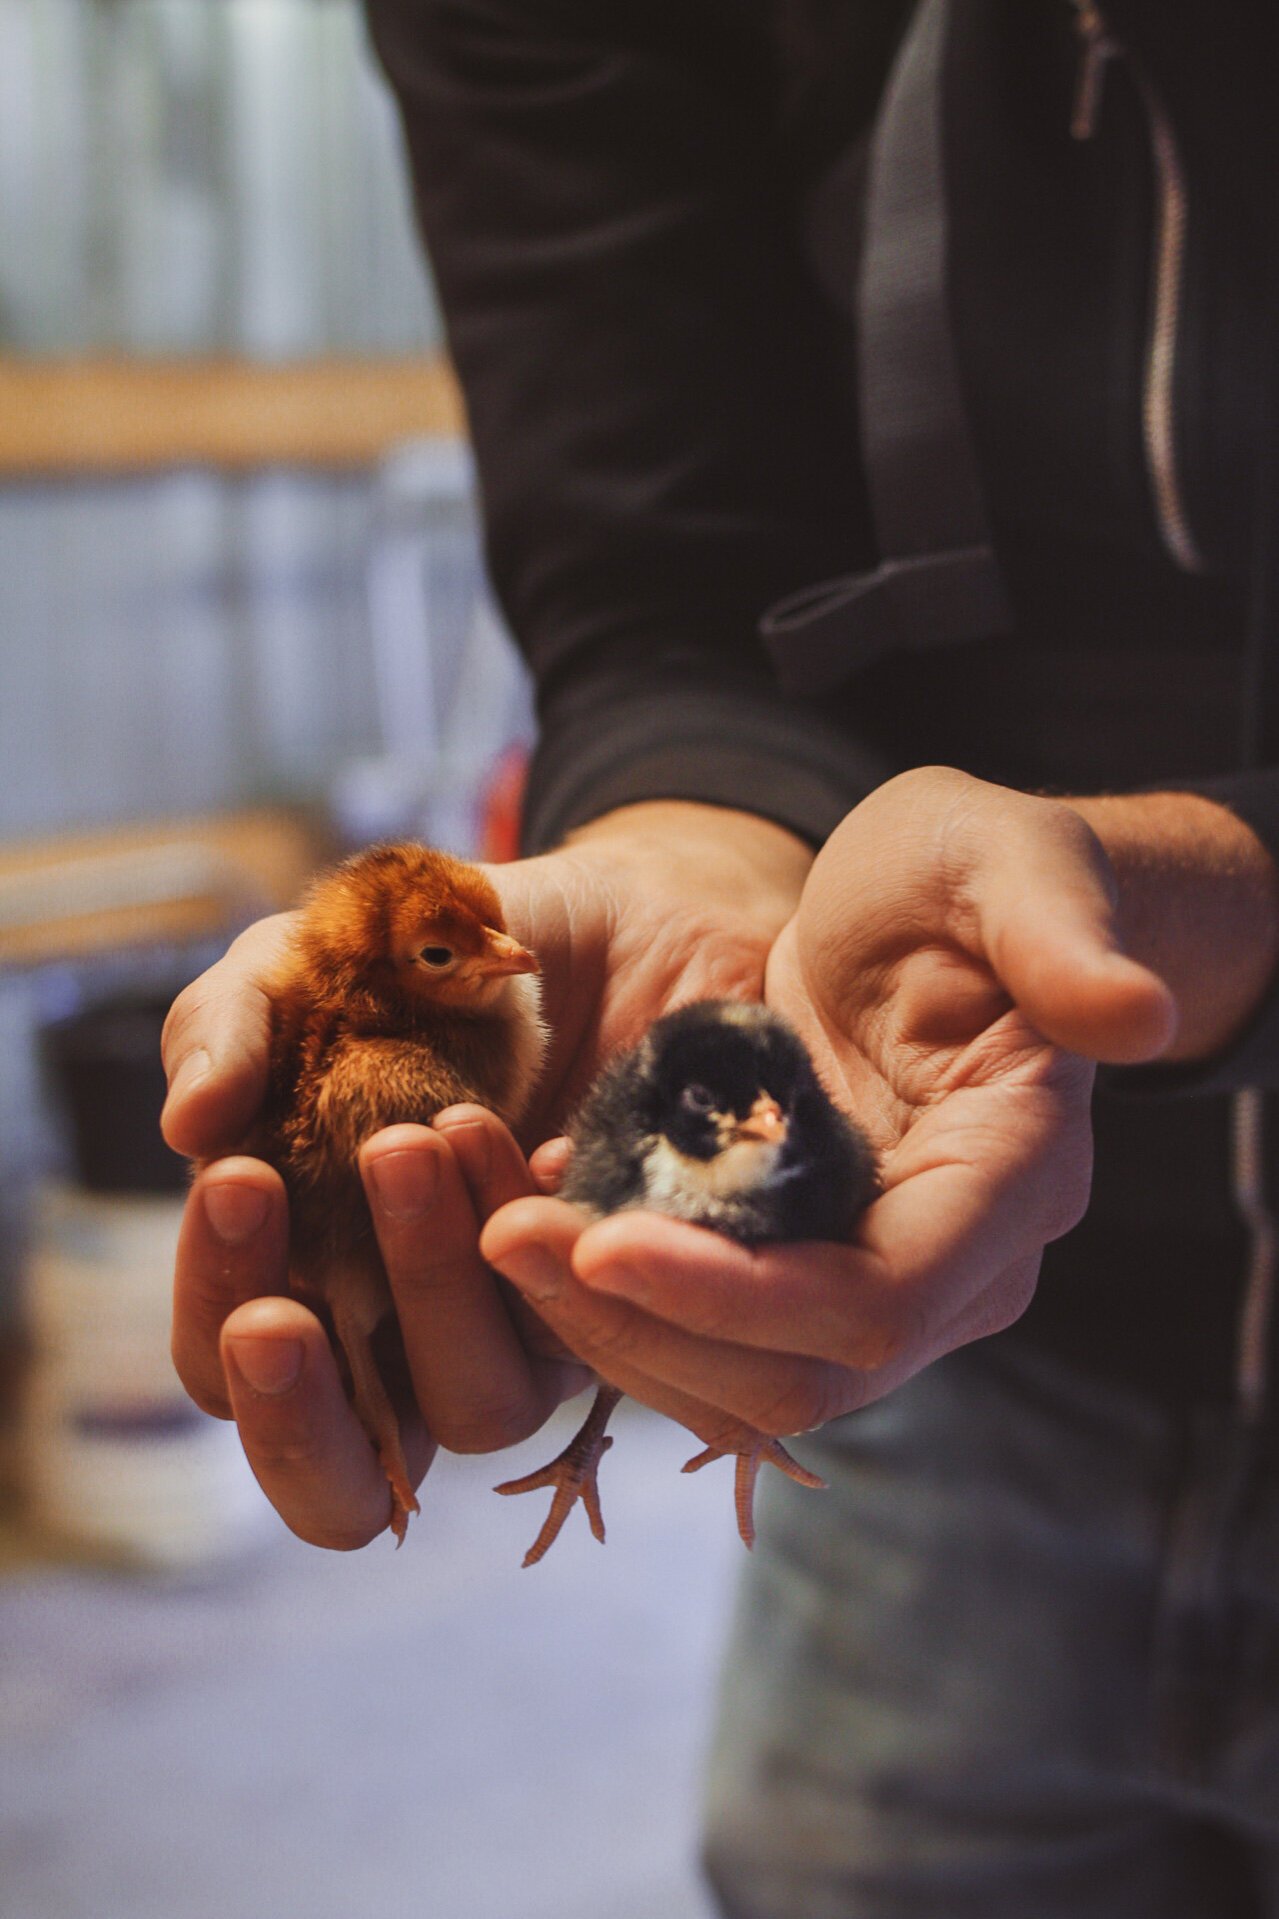
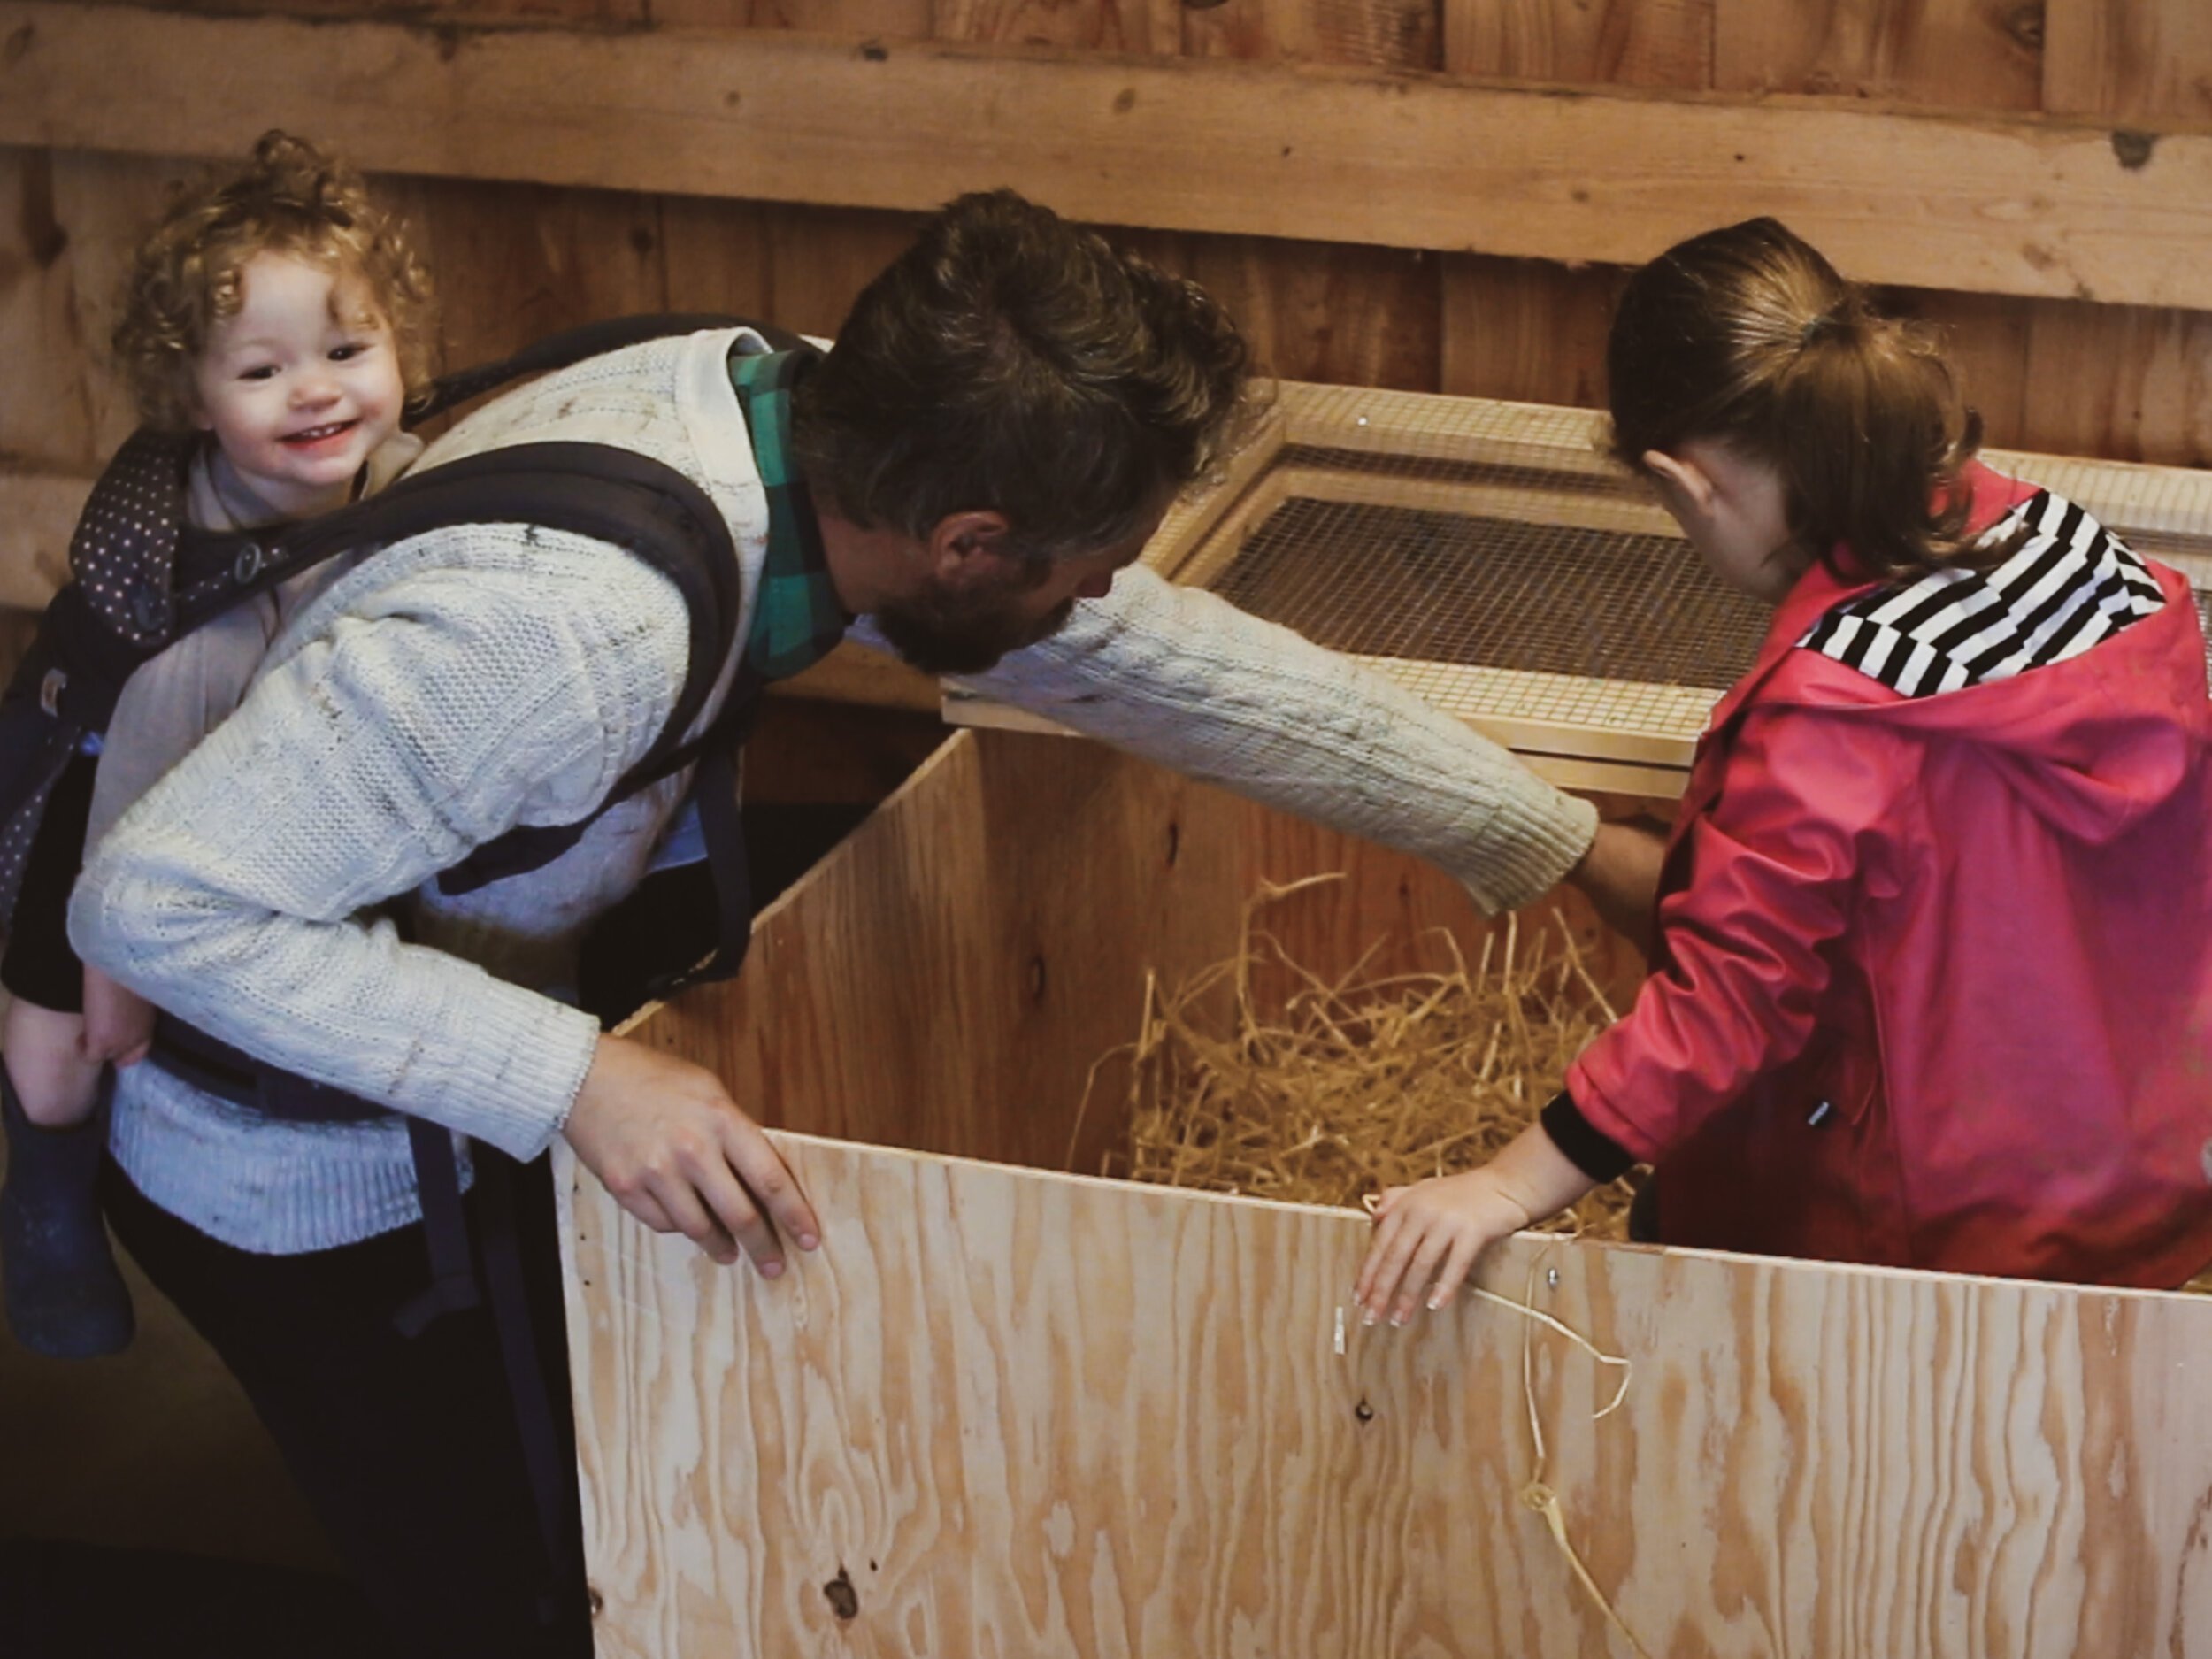
If you’ve seen our homestead video on the arrival of our new baby chicks, you’ll know that Matt put together an awesome brooder to house them until we can get our second ChickShaw built to transfer them out to pasture. I got some messages from folks asking for more details about our brooder, so my husband kindly wrote up some notes which you will find below.
Before I start, let me point out that this design is very much inspired by this brooder from Lumnah Acres, with a couple changes that work better for our situation. Instead of utilizing the interlocking sides from their design, we chose to connect our sides together using hinges and hasps, which allow the main body of the brooder to fold up on itself for easy storage. This also makes it possible to connect two brooders together to extend the space as the chicks grow. We like this because it gives them a little more time to develop before we put them out with our older birds.
We hope to use this brooder many times in the future, and are pleased with how it folds up and can be stored away without taking up too much space.
Please note, the list below contains some Amazon affiliate links. We could earn from qualifying purchases if the links are used, which helps us continue to be able to make posts and videos and all that fun stuff. Thank you for your support. The products listed can also be found at your local home improvement store.
Chicken Brooder Notes
SUPPLY LIST:
• 1x 3/8” thick 4'x8' Plywood Sheet
• 3x 1"x4"x8’ common board
• 8x 2"x3" zinc utility hinges
• 6x 1.5” zinc hook and eye
• 2’x10’ 1/2” hardware cloth
• 2x 2.5” zinc rotating post safety hasp
• Wood glue
TOOLS:
• Circular saw for cutting the plywood
• Mitre saw for cutting the common board
• Impact driver (fancy electric screwdriver) for the hinges and hardware
• Drill with 3/32” bit for the pilot holes for hooks and eyes
• Stapler and staples
INSTRUCTIONS:
1. Start by cutting the plywood sheet into four equal sections of 2’x4’
Measure every two feet along the long part of the plywood and make lines across, then use a circular saw to make the cuts.
Clamp a piece of wood to the plywood 1 1/2” outside the cut line to guide the saw so the blade goes straight down the line. Other saws have narrower or wider guards, so the guide should be adjusted so the saw blade falls directly in the center of the marked line.
2. Install a set of hinges on the 2’ edge of the first board.
Space the hinges 2” from each outside edge to help give the brooder maximum strength while standing. These hinges can either fold completely flat, or when folded the other way stop at a 90 degree angle.
Open them so they stop at a 90 degree angle, and screwed them onto the plywood with the angled side facing the floor.
Snug the angled side right against the wood to use as a guide for where to place the hinge.
3. Mate up the next sheet of plywood to the first along their 2’ sides, with the hinge bridging the gap between.
For this hinge, there should be no gap between boards, and the two pieces together should look like a 2’x8’ sheet with a hinge in the middle.
Screw in the hinges. After screwing them in, you will be able to fold the two pieces at the hinge to make a perfect 2’x4’ stack, with the original piece on bottom and the second piece on top.
4. Install a second set of hinges on the top piece of plywood in the stack.
These hinges are to be installed on the 2’ side opposite of where the last hinges were installed, but in the same way as before: 2” spacing from the outside, with a 90 degree downward side snugged against the board.
5. When mating the third sheet, follow the same procedure as with the first, but allow a 3/8” gap between the two sheets.
This is important because this hinge has to bend an opposite direction from the other hinges to form the box, and the plywood needs space to overlap itself. Once the third sheet was installed I again folded it over into the 2’x4’ stack.
6. Install the third set of hinges on the top board in the stack on the 2’ side opposite the second set.
I used the same methods as the last two sets.
7. When mating the final sheet, snug it up to the third board like when joining the first and second sheets.
After screwing the hinges in, fold this last piece on to make, again, a 2x4’ stack. These are the walls of the brooder.
When set on its side and pulled out, it could make a long, 2’x16’ board, and it should now be able to fold into a 4’ by 4’ box.
8. Make it into a box, then install the hasps to allow it to lock closed.
The hasps I bought fold at a 90 degree angle, so I put the base of the hasp on one sheet and had it fold over to match the post on the other sheet.
I also installed these 2” from the tops and bottoms of the boards to match the hinges.
Be careful to install the hasps first, then mark where the posts would go so the hasps would go over the posts when the box closed.
The hasps can be secured over the posts by anything that will go through the hole in the post. I had some spare screws so I used them. I had a secure 4’x4’x2’ box at this point.
9. To make the lid I made two 25”x50” frames from the 1x4x8’ common boards.
Start by cutting two 50” lengths from two of the boards.
Then cut these in half to make four 25” pieces.
From the remaining pieces of boards and the last whole board, cut four 43” lengths.
To make the first frame, place two 43” pieces inside the two 25” pieces to make a 50” x 25” frame.
Use wood glue to join the pieces, and placed three staples across each joint on both sides of the joint for stability until the wood glue dried (if you don’t want staples, you could use a mending plate, or clamp the pieces in place while the glue dries - I’m cheap and was in a hurry).
I made the second frame identical to the first.
10. Attach the hardware cloth to the underside of each frame.
There is no designated underside, so just choose which is top and bottom
Use staples every few inches to attach it.
I tried both rolling the hardware cloth out ahead of time and unrolling it as I stapled, and I think it was better unrolling it as I stapled - it seemed to keep it from wanting to wander around or warp.
The pieces of hardware cloth were 2'x5' and the frames aren’t that big, so once I had the pieces stapled up, I used a pair of snips to cut off the excess.
11. Join the frames using the last set of hinges.
Place the frames side by side with the hardware cloth down, so that they made a 50”x50” box, then attach the hinges so the joint between the two pieces are exactly in the center.
Once it is attached, you can fold it into a 50”x25” stack.
12. Install hooks and eyes to attach the lid to the box.
I did one hook and latch on the front and one on the back, then two on each side.
First I placed the lid on the box so there was about 1” overlap on each side. Because of the hinges and the thickness of the plywood it wasn’t quite 1”, so I just felt until it was even.
I used a 3/32” drill bit to make pilot holes, and placed the hooks directly in the centers of each piece of wood (the 25” mark for each 50” side, and the 12.5” mark for each 25” side).
Then I drilled a pilot hole in the plywood about 1.5” directly below the holes for the hooks. This was approximate because I mostly just tried to guess where to put the eyes so the hooks would catch in them.
Once this was all done, I could latch all 6 hooks and the lid was secure. I figure we’ll leave one side secure and open the other side to access things.
That's it! It provides 16 square feet of space, which should accommodate a maximum of somewhere between 8-32 chicks until they are ready to go out to the coop. We're going to be raising around 25 chicks, so we'll just watch for when/if it starts to get too cramped and then build another one to split the flock into. For about $90 and around three hours of work, it'd be worth it to have another brooder on hand just in case we need it anyway.
A note from Matt on Plywood: I picked the 3/8' plywood because I thought it would be a good compromise between strength, weight, and price. This plywood bows and flexes a little. It is also too thin for all of the fasteners included with all the hardware I bought, so by the time I was done there were a couple dozen pointy ends of screws sticking into or out of the brooder.. I solved this by using a reciprocating saw with a hacksaw blade to shear off any pointy bits sticking out, but it could also probably be solved by buying enough smaller (3/8-inch) screws to replace the screws in all the hardware. Alternatively, a person could buy thicker plywood, 1/2" or more if they like, and not deal with the pointy problem. Thicker plywood would probably also make a stronger box that is less likely to have sides that bow or flex. My issue with this is that I would like to be able to fold everything into a neat 2'x4' stack, tie it together, and put it up on a shelf. I don't know if I'd be able to lift a unit constructed from a heavier sheet. If you use a heavier sheet of plywood, you will need to expand the gap between the second and third pieces to match the thickness of the plywood sheet. This is discussed in step 5 below. You may also have to buy wider hinges for this joint, as the screw holes on the narrow hinges I used barely fit on the wood when I made the 3/8" gap.
Edited to add: We ended up making a second brooder and combining the two, and it worked out really well until it was time to put the pullets out on pasture.
Watch us build the brooder on our vlog here:


